CiviMP
CONSTITUENT OFFICES MOVE ONLINE with CiviMP, a customized version of the popular open-source contact management system CiviCRM. Members of parliament (MPs) can keep in touch with constituents, listen to their concerns, and help solve their problems. Easy list-building tools let MPs communicate with citizens via email, SMS or printed mail merge. With CiviMP, legislators can easily track citizen requests while automated reports measure how often different types of problems occur and how rapidly issues are resolved.
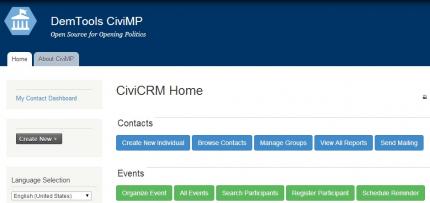
You can login to the CiviMP demo below with the username demo and the password demo.
- Administer -> System Settings -> Directories
- Fill out the "CiviCRM Extensions Directory" setting with the directory you just created
- Administer -> System Settings -> Resource URLs
- Fill out the "Extension Resource URL" with the directory you just created in the folloing form:
- http://yoursite.com/extensionsdirectory (eg: http://www.example.com/sites/default/files/civicrm/extensions)
Enable the Case functionality:
- System settings -> Enable CiviCRM components
- Select "CiviCase"
- cd sites/default/files/civicrm/extensions
- git clone https://github.com/nditech/org.ndi.civiparty-dashboard.git
- git clone https://github.com/nditech/org.ndi.civi-local-permissions.git
- Administer -> System Settings -> Manage Extensions
More information on Civi extensions can be found here: http://wiki.civicrm.org/confluence/display/CRMDOC/Extensions
- 2246 reads
Learn More About DemTools
By joining our open source community, you'll receive updates about the tools and information about how to stay involved.
* Required